Hi Friends! Happy Friday! Today I wanted to share my tutorial for a DIY teepee with you. The Online Fabric Store provided me with gorgeous fabric to make Olivia a teepee for her second birthday. I was so happy with their customer service and could not have had a better experience with their company. The fabric I chose was Premier Prints Canopy in baby pink and Amy Butler Fresh Poppies in fuchsia. I loved the colors and patterns together and knew it would be perfect for a fun, whimsical play teepee. The teepee is about 36" on each side, and I was given three yards of the Premier fabric and four yards of the Amy Butler fabric to use. I'm planning on using what was leftover to make a few pillows for her play area to match. I also love that we can bring the teepee outside for some fun in the fresh air too! This tutorial is full of pictures, so you can follow along with how I created her teepee.
Supplies:
* 3 - 6 yards of fabric (depending on how large you'd like your area and if you are alternating sides)
*Four 1 1/4 poplar dowels (found at Lowe's or Home Depot)
*Sisal rope
I am lucky enough to have a local shop where you are able to rent sewing machines and the owner was wonderful at instructing me. My sewing machine needs to be repaired so this was the perfect opportunity for me to spend a few baby free hours and learn some fun sewing techniques ;)
To begin, we traced out our patterns on tracing paper. I found a pattern on Pinterest and adjusted it to fit our space. Remember to check twice and cut once! This was so important when we were measuring out the striped fabric, as I wanted horizontal stripes. I chose to alternate sides with the two fabrics so each side needed to be matched appropriately.
After all of the sides were traced, measured and cut, I serged all of the sides with a serger. This prevents the fabric from fraying and provides cleaner sides. The lighting wasn't great, so I apologize for some darker pictures. I was really happy with how clean the lines looked after using the serger.
Once all of the sides have been serged, begin to cut the fabric for the poles. I made these 5" wide. Next time, I'd probably make them 6" wide to provide a little more wiggle room as they are very tight on the poles. Use the serger to enclose the fabric to create tubes.
After your pole tubes are created, layer one side (inside out) with one tube then another side (inside out), basically creating a little sandwich. Sew the two sides together, with the tube inside of the sides. Repeat with each side.
The front of the teepee is a mix between both fabrics. My absolute favorite part is the monogram on the top portion. It's a sweet personalized touch and I love all things monogrammed! This was done by using the embroidering machine, a perk of sewing this at the shop.
Once the teepee was all sewn together, I trimmed the loose threads and laid it out flat. Place the dowels in the fabric tubes and then maneuver them around so the fabric sits nicely and all four poles are evenly spaced. This was probably the most frustrating part for my husband. I had my hubby help me put the poles in and lets just say it was a little touch and go there ;) I literally had to move the poles in different directions approximately 742 times. Anyway, once the poles were in, he drilled a hole in each one and began to string the sisal rope through, wrapping it around each pole until the teepee was able to stand on its own. The first time we tried to do this, we wrapped it around quite a few times and realized it wouldn't be able to open and close so the better option for us was to wrap it slightly less.
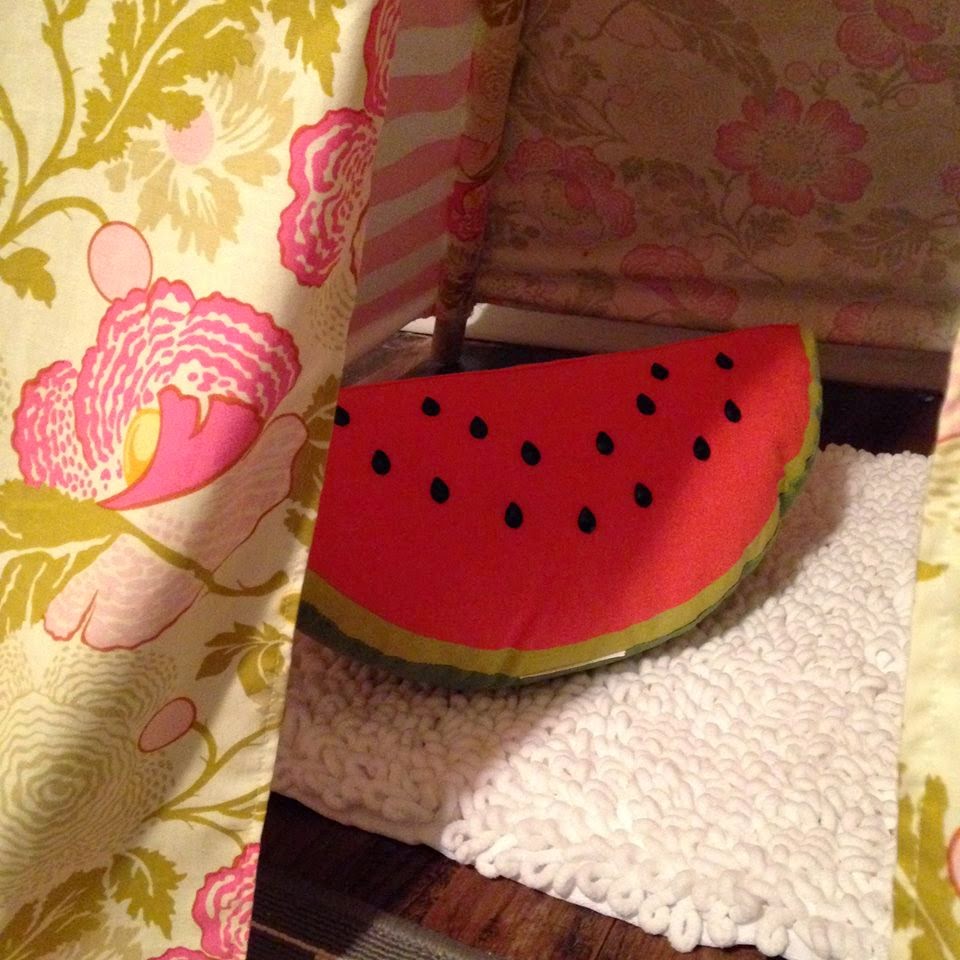
I am thrilled with the final result. I set it up in our playroom for her to see it on the morning of her birthday and she dove right into it! I love that this is such a fun place for her to play and enjoy herself with her little friends. For an extra whimsical touch, I added pillows from Home Goods and a super soft, fluffy rug from T.J. Maxx, which is actually a bath mat - perfect size! I also added a pom pom garland around the poles, which I love.
I hope you enjoyed this tutorial! Any questions, feel free to leave a comment and I'll be sure to help. A huge thank you to the Online Fabric Store for sponsoring this post and providing the beautiful fabric! What do you think about the teepee?? Make sure you check them out on Instagram @onlinefabricstore! I hope this inspires you to do some DIY yourself ;)


